Suspense in NextJS server components
Ever since Suspense for data fetching was introduced in React 18, I tried to use it in simple ways, but util now I haven't fully understood how.
In NextJS App Router you have two ways of displaying loading states in pages generated on the server:
- Adding a
loading.tsxfile next topage.tsx. This is the simpler way, and NextJS will automatically render it until the page is ready. - Using
Suspensein your components wrapping the different suspense boundaries yourself. This is a bit more complex but it gives you more control and allows to just show a loading state in part of the page instead of fully switching to it.
You can read a bit more about this in the NextJS documentation.
Case example
Where this becomes really useful is when you have an async component rendered from the server, for example fetching data from a database, and you want to avoid locking the browser until the server finishes rendering the page.
To show a really simple example, let's say we have a SlowComponent that does something asynchronously. In the example I have implemented it by waiting a random amount of time (between 0 and 3 seconds) before rendering the component.
import { setTimeout } from "timers/promises";

export default async function SlowComponent() {
  const timeToRender = Math.random() * 3000;
  await setTimeout(timeToRender);

  console.log(`Rendered after ${timeToRender.toFixed(0)}ms`);

  return (
    <div className="w-96 px-6 py-4 rounded-lg border-2 border-muted-foreground bg-muted">
      <h1 className="text-lg font-semibold mb-2">Slow component</h1>
      <p>Lorem ipsum dolor sit amet [...]</p>
    </div>
  );
}
Rendering 10 of these components in a page will result in waiting for almost 3 seconds most of the time, since we have to wait for the slowest component to finish rendering.
Rendered after 162ms
Rendered after 545ms
...
Rendered after 2805ms
Rendered after 2911ms
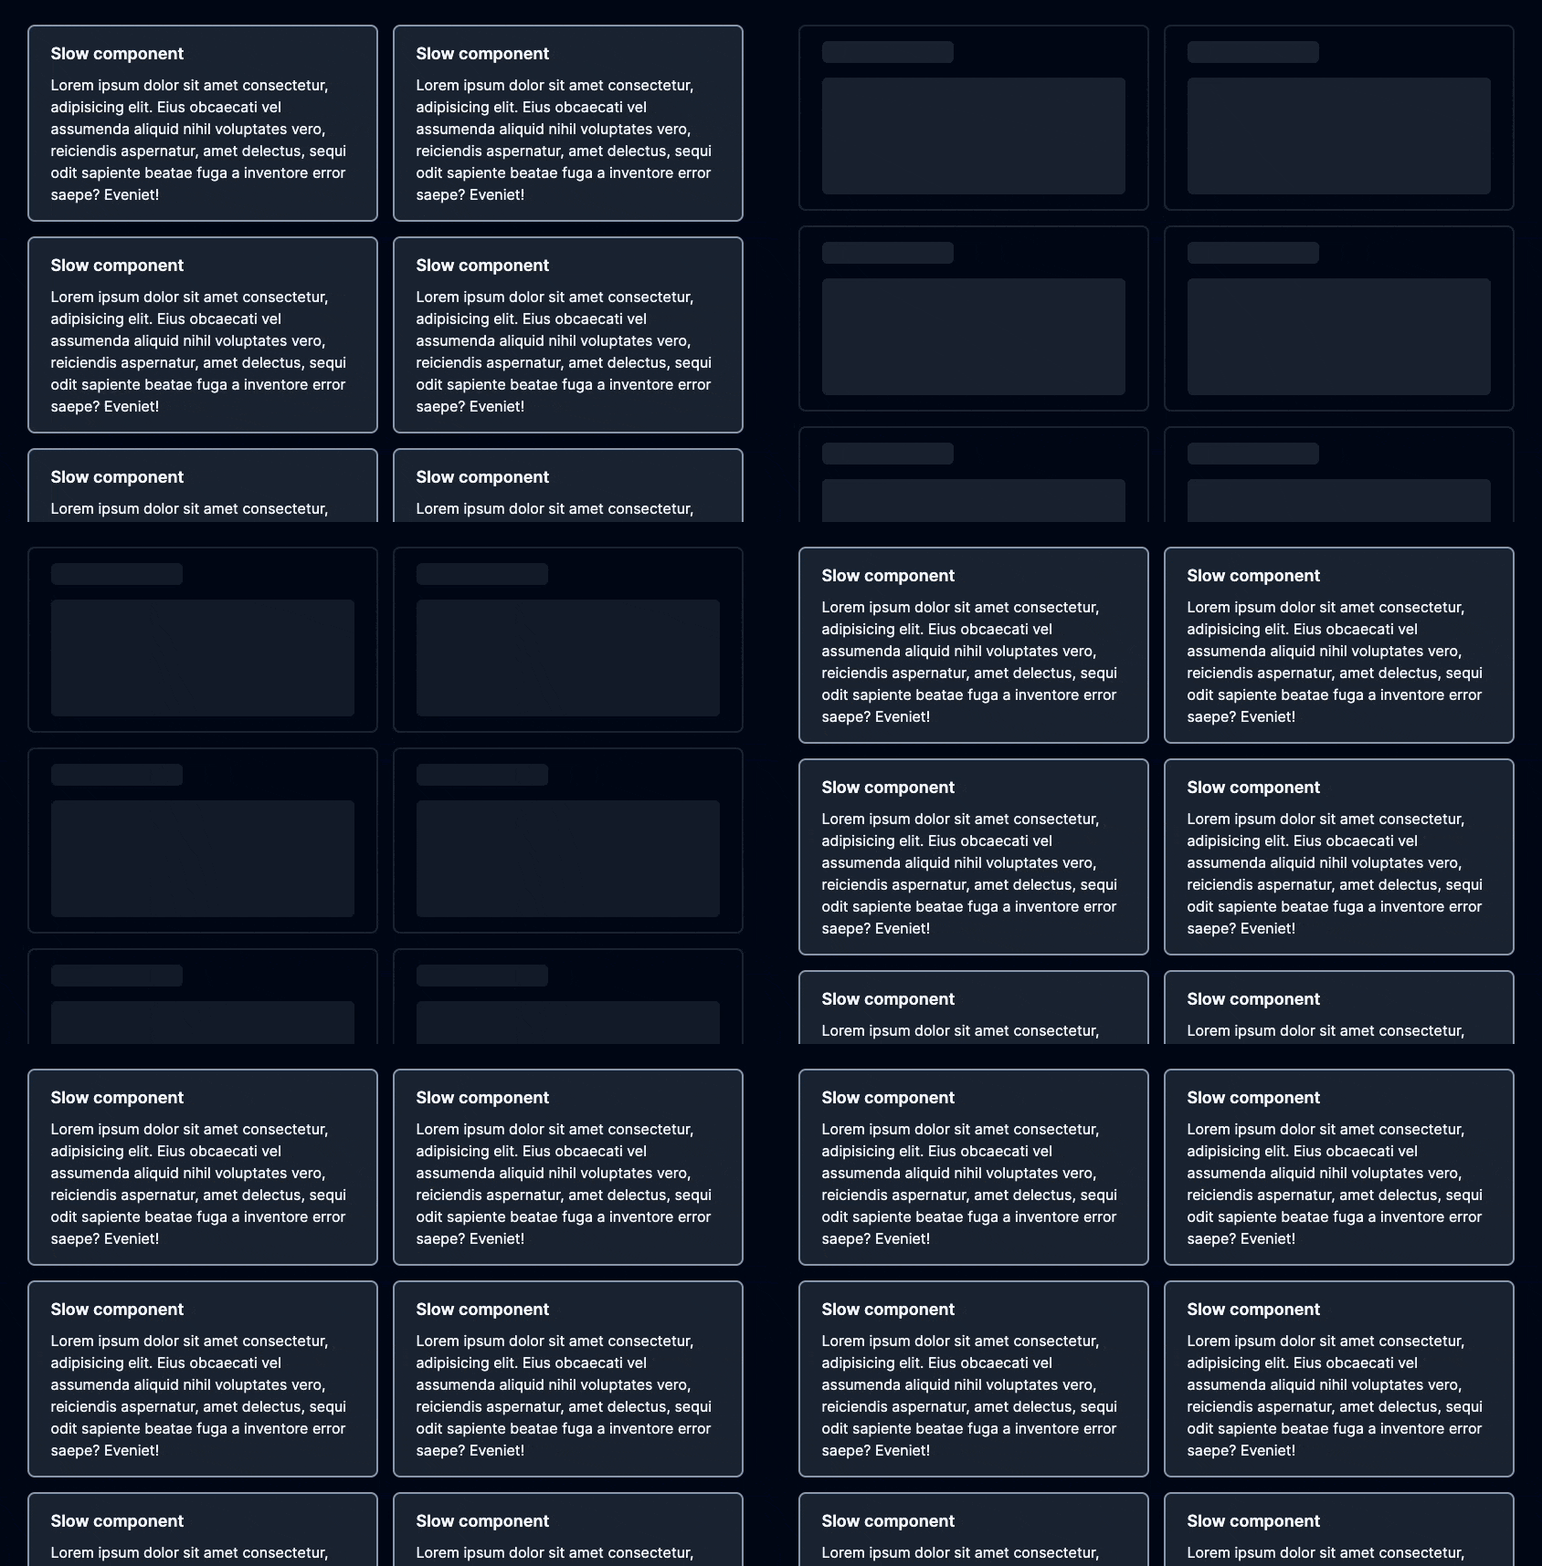
If we add a suspense boundary around the slow components being rendered, we can display some skeleton components while they are loading.
<Suspense
  fallback={[...Array(6)].map((_, i) => (
    <SlowComponentSkeleton key={i} />
  ))}
>
  {[...Array(10)].map((_, i) => (
    <SlowComponent key={i} />
  ))}
</Suspense>

In this example this is the full page, but you can do a lot more interesting stuff by having small suspense boundaries in parts of the page.
Having a single suspense boundary for the 10 components makes it be in a loading state until all of them are done rendering. If we wanted to display them as soon as they finished rendering we could have suspense boundaries for each of them, but this tends to be a bad user experience in the case of lists.
Note
My first approach was to just add a Suspense component in the same page I was fetching the data from, assuming some kind of magic in NextJS that would stream the components inside the suspense boundary as they were rendered. This isn't the case. You need to have separate async components that are rendered on the server, and then wrapped in a suspense boundary in the page or a separate component.
Source code
You can find the full example on https://gitlab.com/rogerclotet/nextjs-suspense-example.